
Lemon Madeleines
This post may contain affiliate links.
With their characteristic scalloped edges and tender crumb, lemon madeleines make an elegant treat for afternoon tea or a sophisticated finish to any meal.
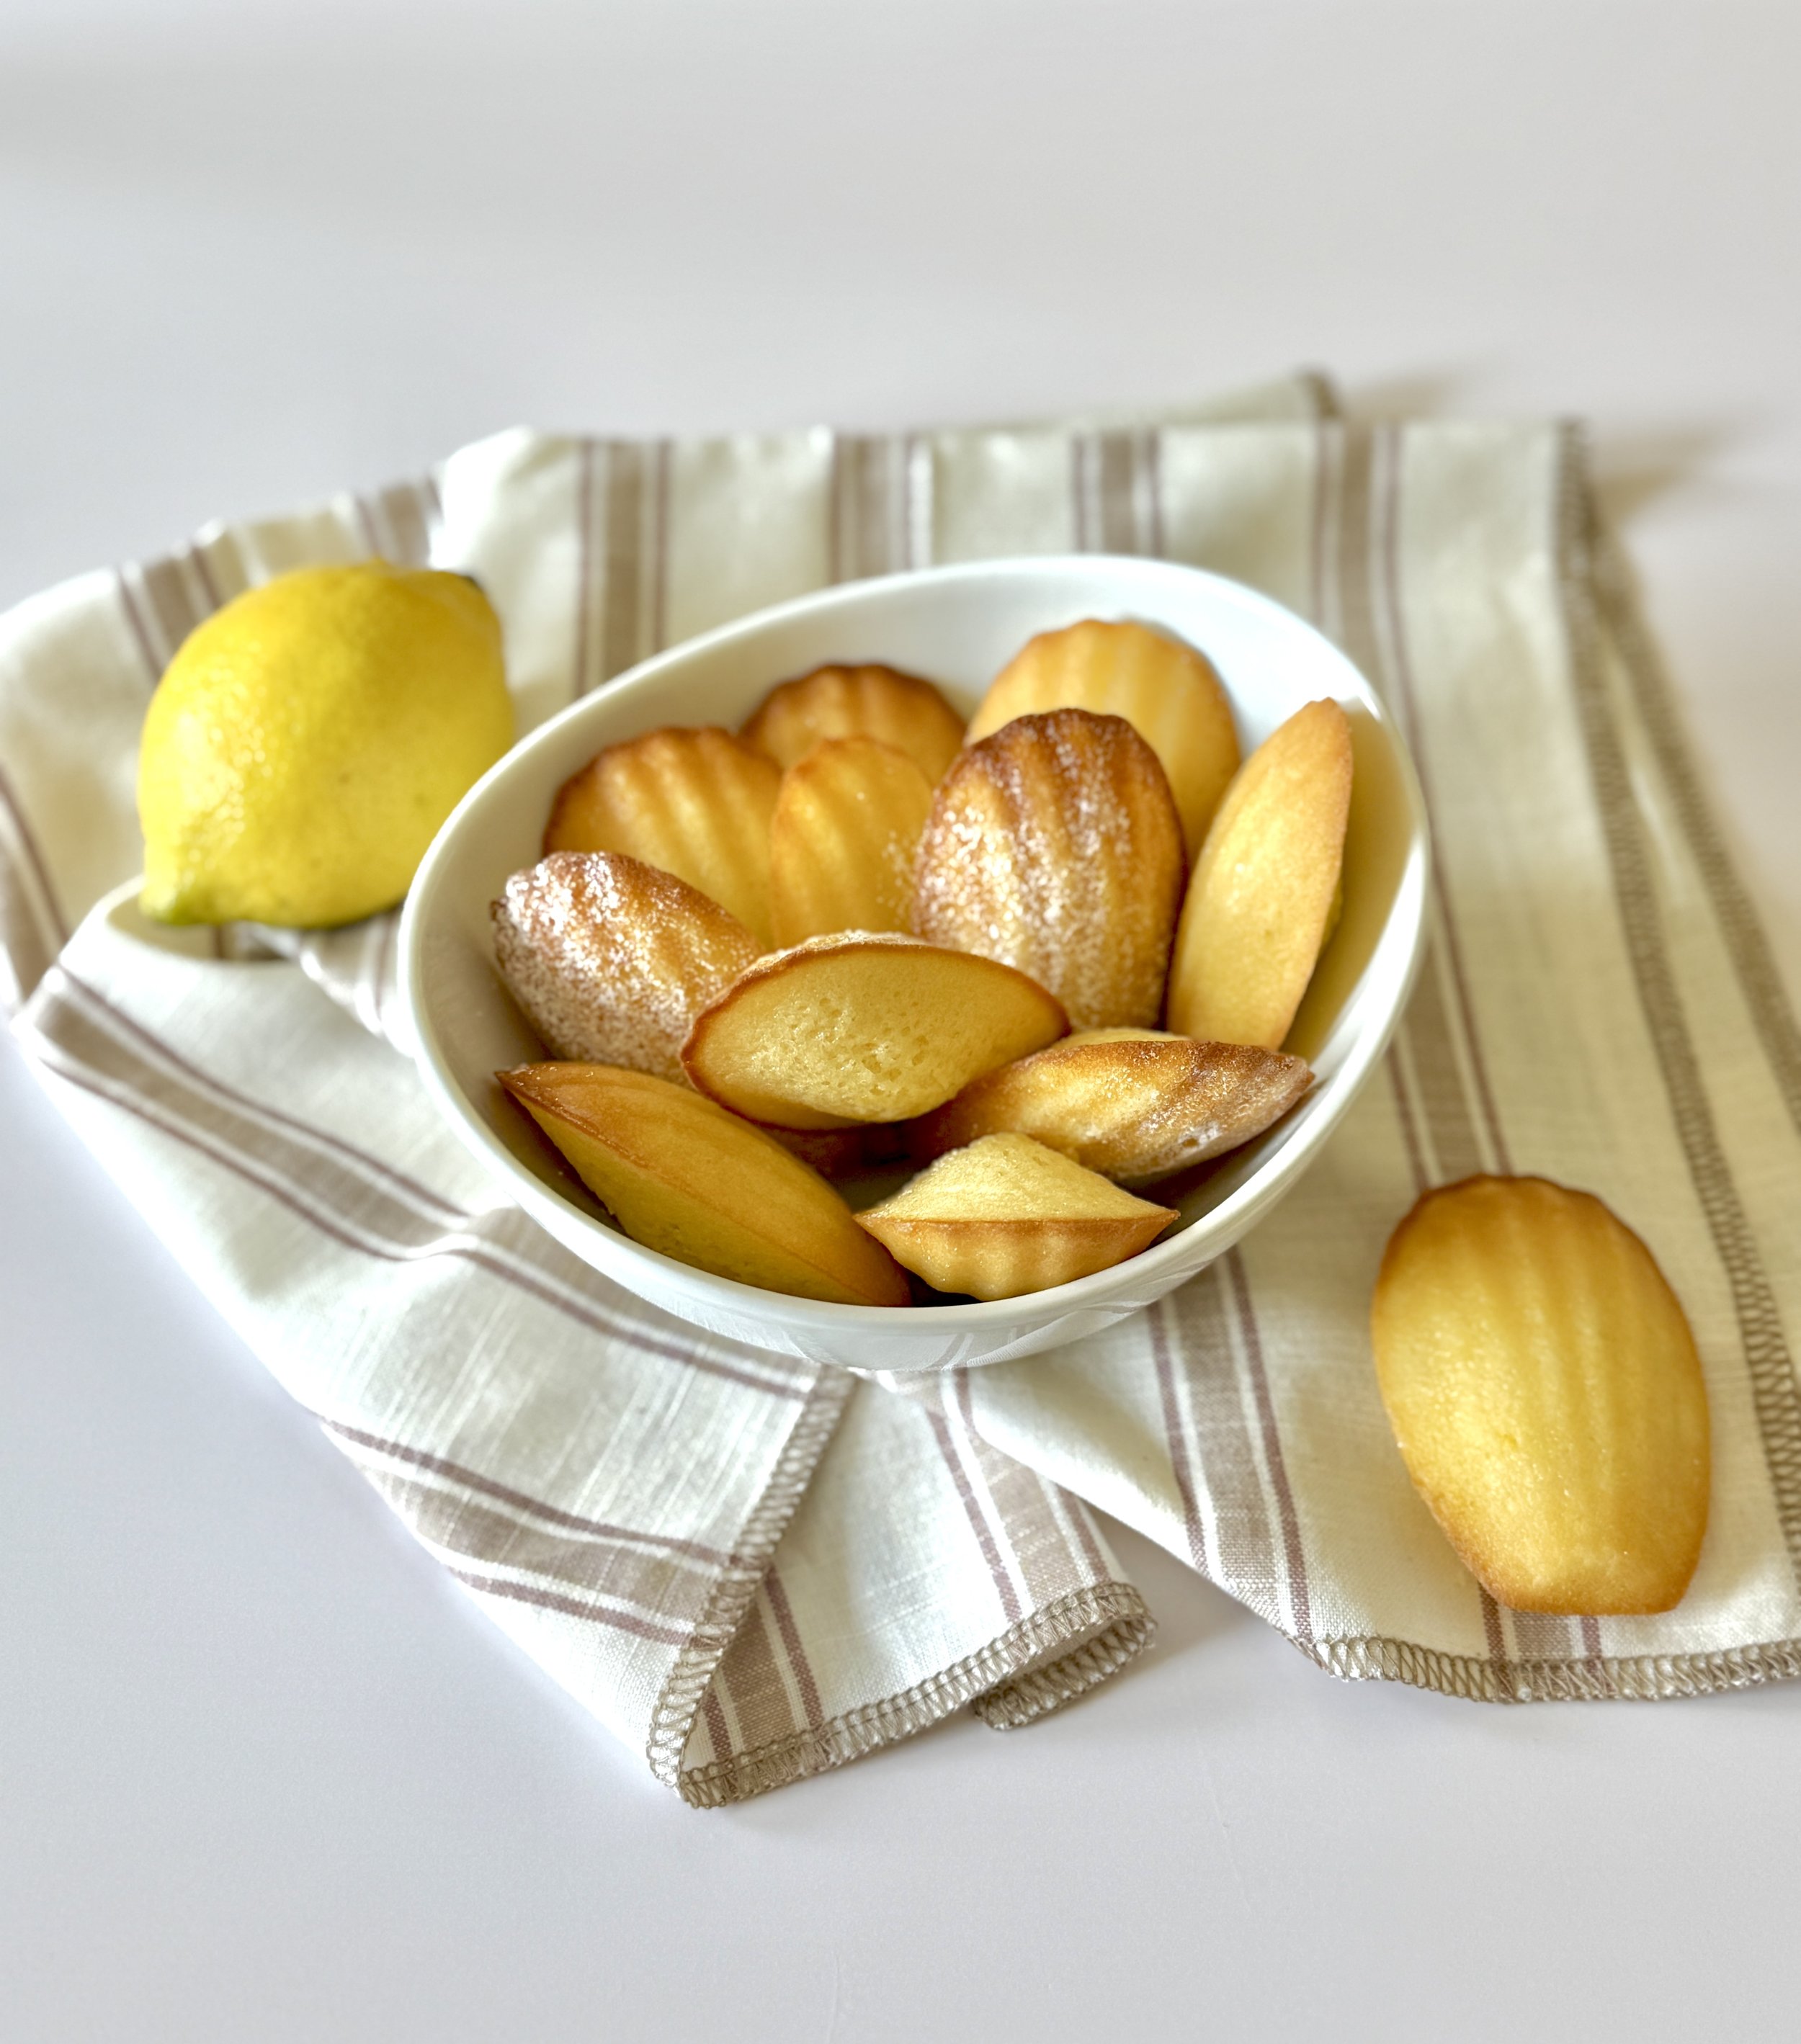
These delicate French shell-shaped cakes are the perfect balance of buttery richness and bright citrus flavor. The subtle tartness of fresh lemon zest and juice transforms the classic madeleine into something truly special – light, fragrant, and utterly irresistible. Best enjoyed fresh from the oven when they're still slightly warm, these little cakes will transport you straight to a Parisian café with every bite.
“I made these lemon madeleines for a dinner party last weekend and they were absolutely divine! The lemon flavor was perfectly balanced - bright and zesty without being overpowering. My guests couldn’t stop raving about how delicious they were. The texture was spot-on: tender and almost cake-like but with a slightly crisp exterior. I served them with coffee and they disappeared within minutes! My only regret is not making a double batch. Five stars!”
WHAT YOU’LL NEED FOR LEMON MADELEINES
2 large eggs at room temperature
1/3 cup (75g) superfine sugar
1 tablespoon (20g) honey
Zest of 1 large lemon
1-2 teaspoons (5-10g) fresh lemon juice
1/2 teaspoon (3g) vanilla extract
¾ cup (100g) all-purpose flour
1 teaspoon (4g) baking powder
Pinch of fine sea salt
6 tablespoons (85g) European-style unsalted butter, melted and cooled slightly (brown the butter for a delicious nutty flavor)
Optional for finishing: Powdered sugar for dusting or lemon glaze (see below)
INSTRUCTIONS
Mise en Place: Scale all your ingredients and bring to room temperature.

Mise en place
2: In a large bowl, whisk the eggs and sugar vigorously for 3-4 minutes until the mixture reaches the ribbon stage. The color will change from yellow to pale ivory, and the volume will nearly double. This aeration is what creates the classic madeleine texture.

Ribbon stage
3. Add the honey, vanilla, lemon juice, and lemon zest. Whisk gently just to combine: about 10-15 strokes. The mixture may look slightly curdled from the acid, which is normal.
4. Sift together the flour, baking powder, and salt, and whisk until combined. Add half the flour mixture and fold with a rubber spatula using the technique described below. Work until almost incorporated, then add remaining flour. Stop folding the moment no flour streaks remain: usually 10-14 folds total.
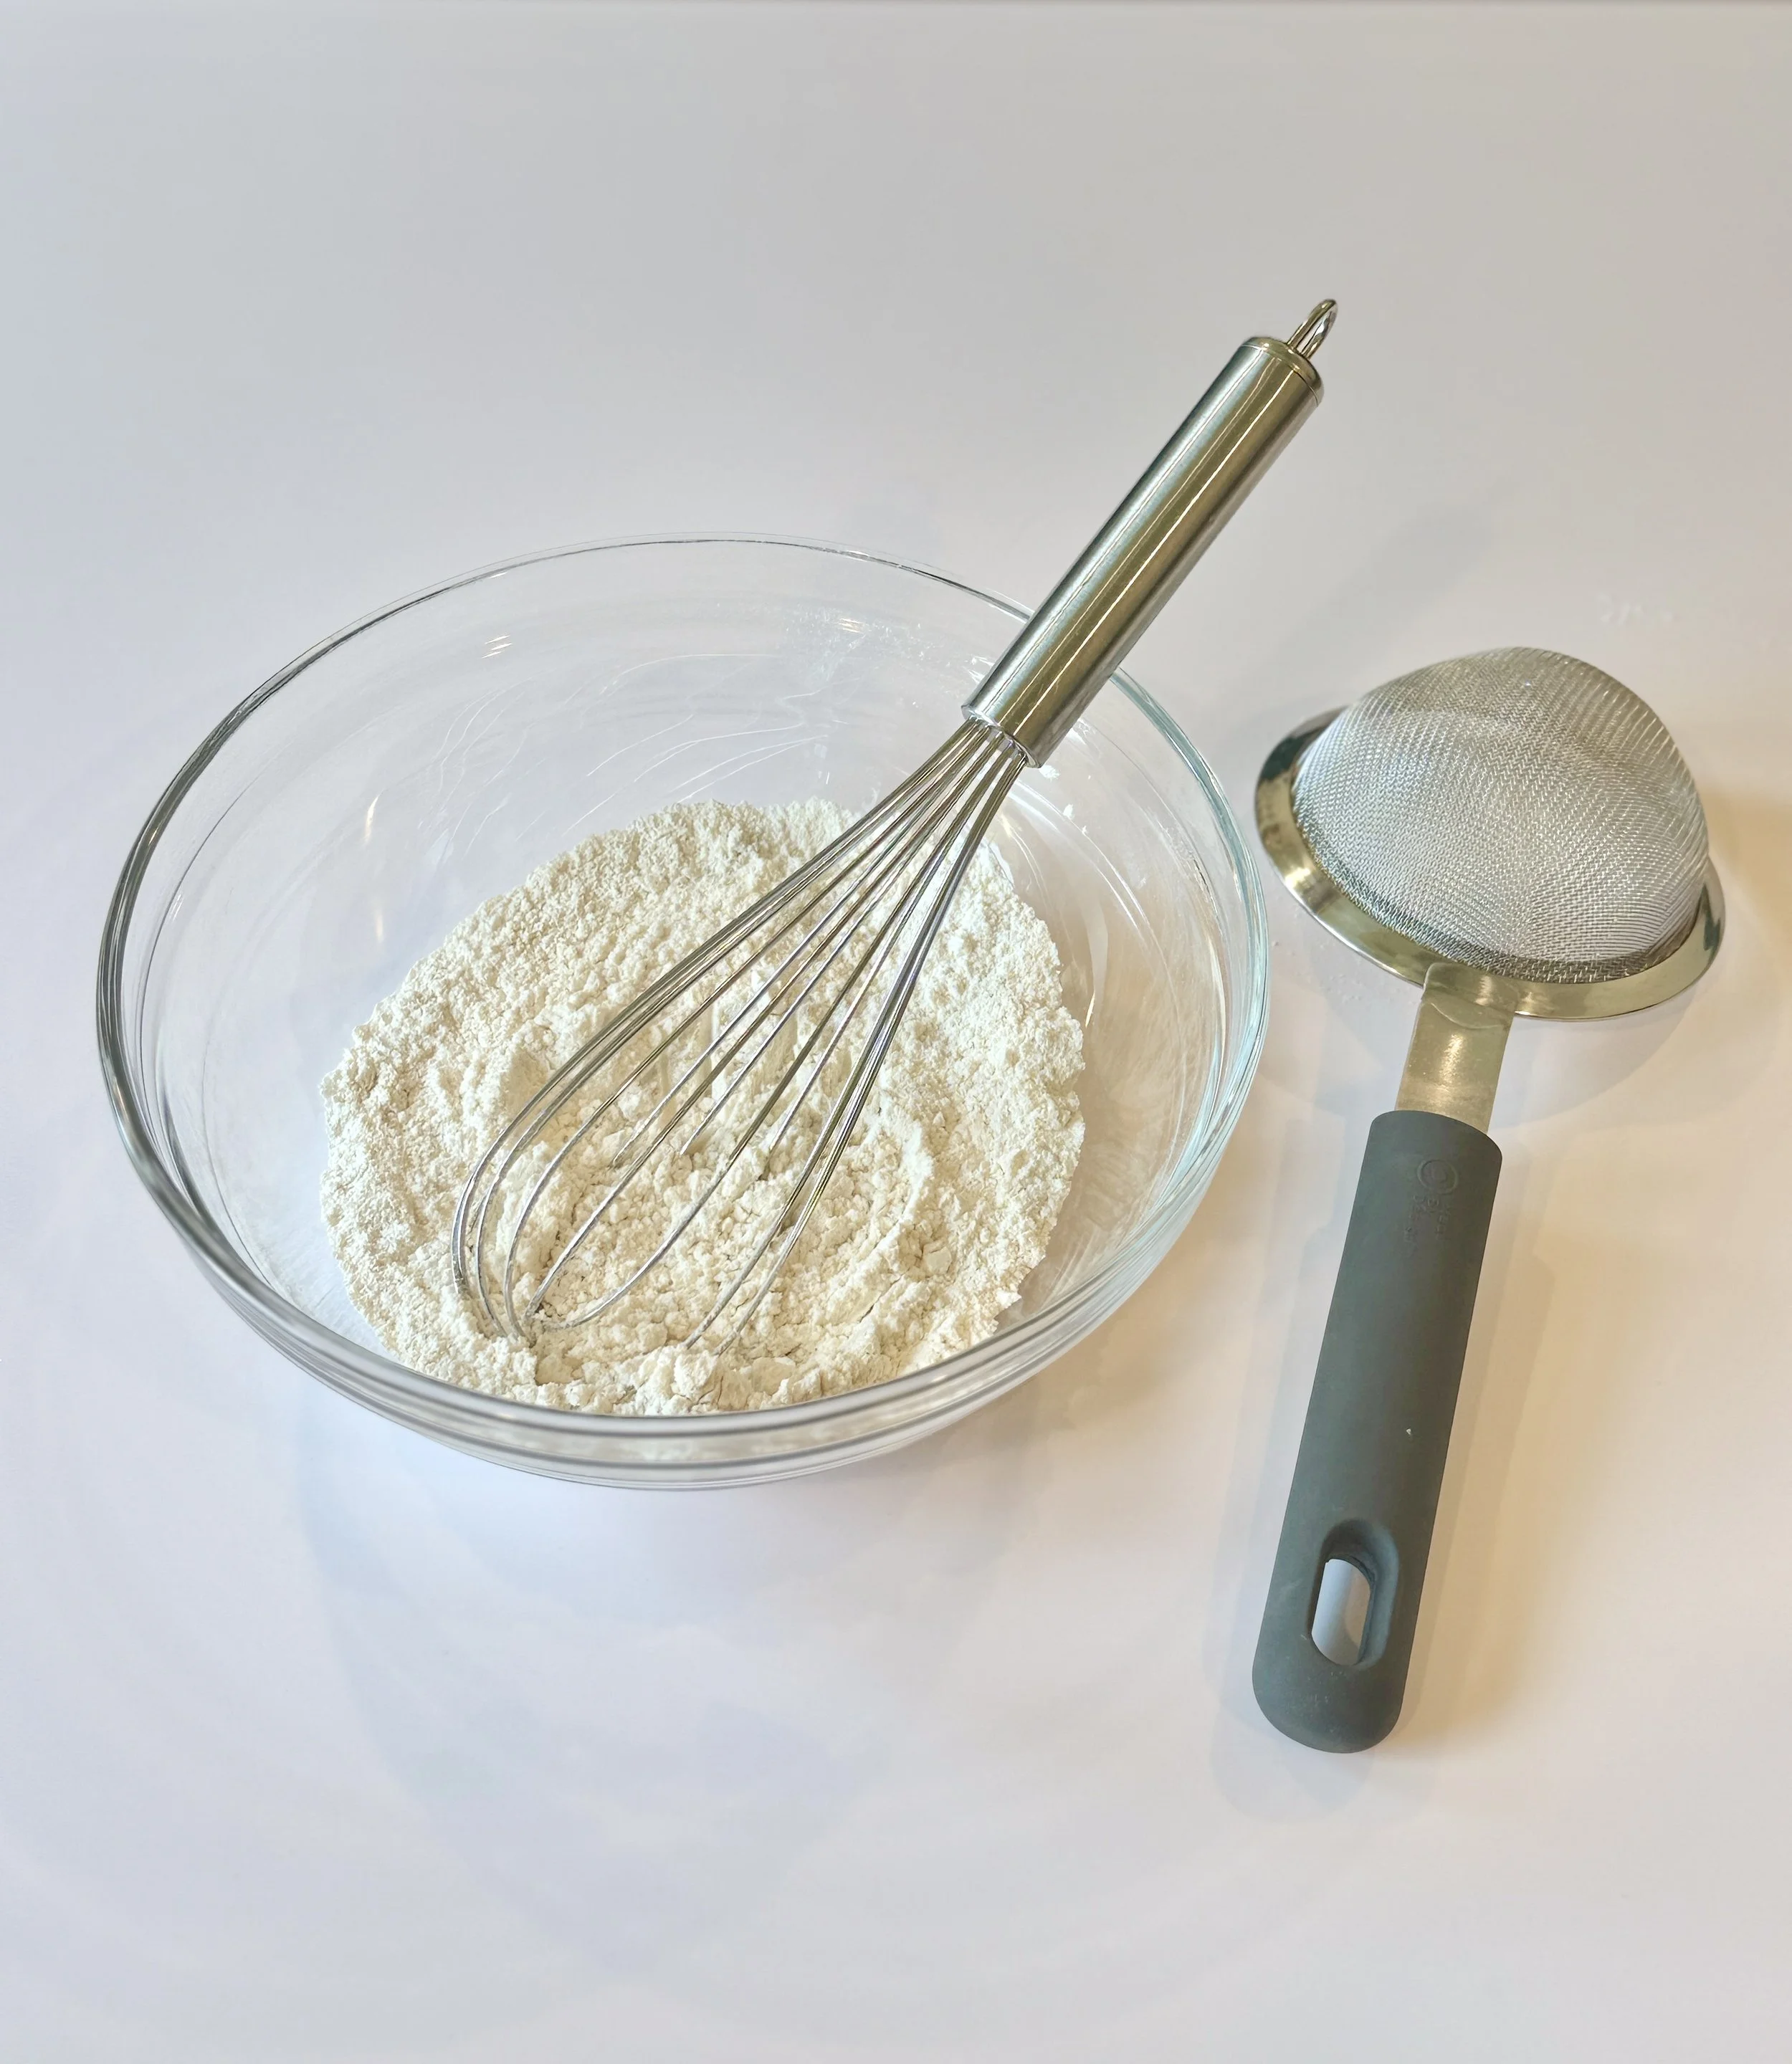
Sift and whisk dry ingredients
5. Drizzle the cooled melted butter around the edge of the bowl while simultaneously folding. The butter should be absorbed gradually, not pooling. Work quickly but gently.
6. Cover the bowl tightly with plastic wrap and refrigerate for at least 1 hour, preferably 2 -12 hours. This allows the flour to hydrate and the batter to firm up, which is crucial for achieving the characteristic hump during baking.
7. While the batter chills, prepare your madeleine molds meticulously. Brush every cavity with softened or melted butter, or non-stick spray ensuring you get into all the shell ridges.

Prepare madeleine pan
Brush with melted butter or spray with non-stick spray
8. Preheat the oven to 375°F (190°C).
9. Once the oven has finished preheating, remove the batter from refrigerator. (You don’t want it coming to room temperature while your oven is preheating.) The batter should be noticeably thicker after chilling. Using a piping bag or small spoon, fill each mold about 3/4 full. Don't spread the batter - just let it settle naturally.
10. Bake for about 8 minutes until the edges are golden brown and the centers spring back when lightly pressed.
11. Immediately invert the pan and tap gently to release the madeleines over a lightly sprayed wire rack to prevent sticking. They should fall out easily if the pan was properly prepared. Cool shell-side up to maintain their shape.

Unmold madeleines
Cool shell side up on wire rack although they are best enjoyed slightly warm
12. Finish off the madeleines with a dusting of powdered sugar or a lemon glaze for a gorgeous shine and extra flavor. Glaze the madeleines while still warm so that the heat evaporates some of the moisture from the glaze and leaves you with a beautiful shine.
Simple Lemon Glaze: Whisk together ½ cup (60g) powdered sugar, 2 tablespoons fresh lemon juice, and a pinch of salt until smooth. Adjust consistency with more juice (thinner) or sugar (thicker). Brush or drizzle over the madeleines.
Storage: Madeleines are best within 2 hours of baking when the exterior is still slightly crisp and the interior is tender. After that, store in an airtight container for a couple of days at room temperature. They’ll also freeze beautifully for three months.
Pro Tips:
The ribbon test: When whisking the eggs and sugar, you must achieve the “ribbon stage.” Lift your whisk and the mixture should fall in thick, pale ribbons that hold their shape for 2-3 seconds before disappearing into the batter. This takes about 4-5 minutes of vigorous whisking and creates the proper aeration for that signature dome.
Your melted butter must be cooled but still liquid - around 80-85°F. Too hot and it will cook the eggs; too cool and it won’t incorporate smoothly. Test by touching the bottom of the bowl: it should feel barely warm.
The folding technique: Add the flour gently to the egg mixture in two additions. Use a large rubber spatula and cut straight down through the center of the mixture, scrape along the bottom, fold up and over. Rotate the bowl a quarter turn and repeat. This preserves the air you’ve worked so hard to incorporate.
Properly baked madeleines will have distinct shell ridges, golden edges, and a pronounced dome. The bottoms should be pale golden, not brown.
If your madeleines don’t develop the hump, your battery was either overmixed, undermixed, too warm, or your oven temperature was off. The contrast between cold batter and hot oven creates steam that forms the dome.
Notes:
About Superfine Sugar: Superfine sugar dissolves more quickly and completely when whisking with eggs, helping achieve the proper ribbon stage faster and creating a smoother batter texture. If you don't have superfine sugar, regular granulated sugar works fine as a substitute. You can also make your own superfine sugar by pulsing granulated sugar in a food processor for 30-60 seconds until the crystals are finer but not powdery.
About European-Style Butter: European-style butter has a higher fat content (82-84% vs 80% in regular butter) and lower water content, which creates richer flavor and better texture in madeleines. The reduced moisture helps prevent soggy bottoms and contributes to a more tender crumb. Regular butter works perfectly fine as a substitute - the difference is subtle but noticeable if you're aiming for bakery-quality results.
✨ Let’s Bake Together
Loved this recipe?
Join The Gourmet Table, my weekly newsletter filled with French pastry tips, seasonal recipes, and elegant inspiration for your next celebration. Whether you’re baking for two or styling a dessert table for twenty, I’ll help you make it unforgettable.
📬 Sign up for the newsletter here →
📸 Follow along on Instagram @gourmetlayers for behind-the-bake moments, styling tips, and cookie cam magic.
💬 Tried this recipe? Leave a comment or tag me — I love seeing what you create