
Cinnamon Sugar Palmiers
This post may contain affiliate links.
A crisp, caramelized swirl of buttery puff pastry and warm cinnamon sugar, these palmiers are the easiest way to bring a little French magic to your day.
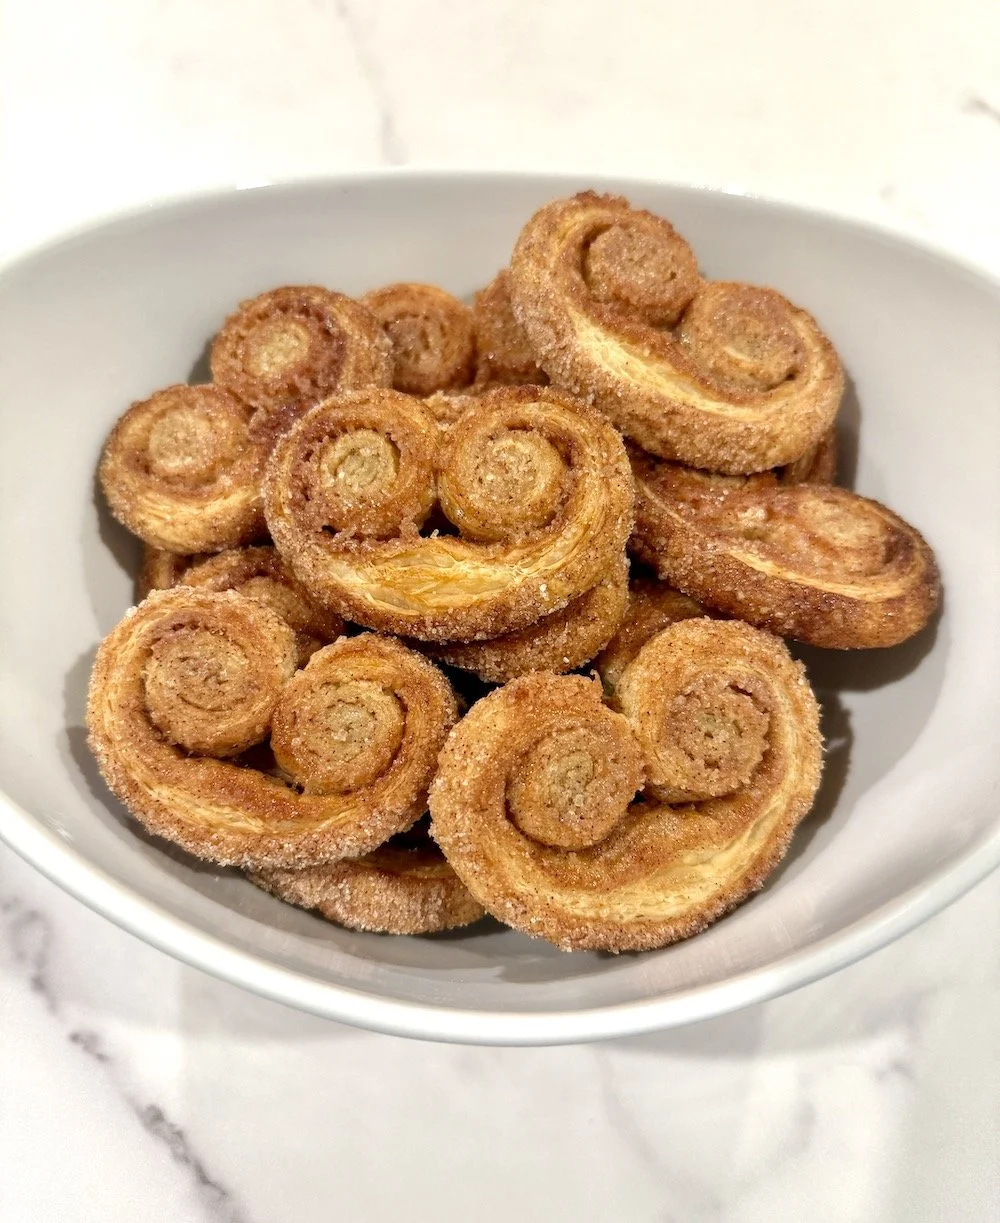
These cinnamon sugar palmiers are one of my favorite “effortless but impressive” treats. With just puff pastry, sugar, and a little folding magic, you get delicate, golden pastries that look like they came straight from a French bakery. They bake in minutes, fill the kitchen with the coziest holiday aroma, and are perfect for snacking, gifting, or adding to a last-minute dessert board.
I
INGREDIENTS
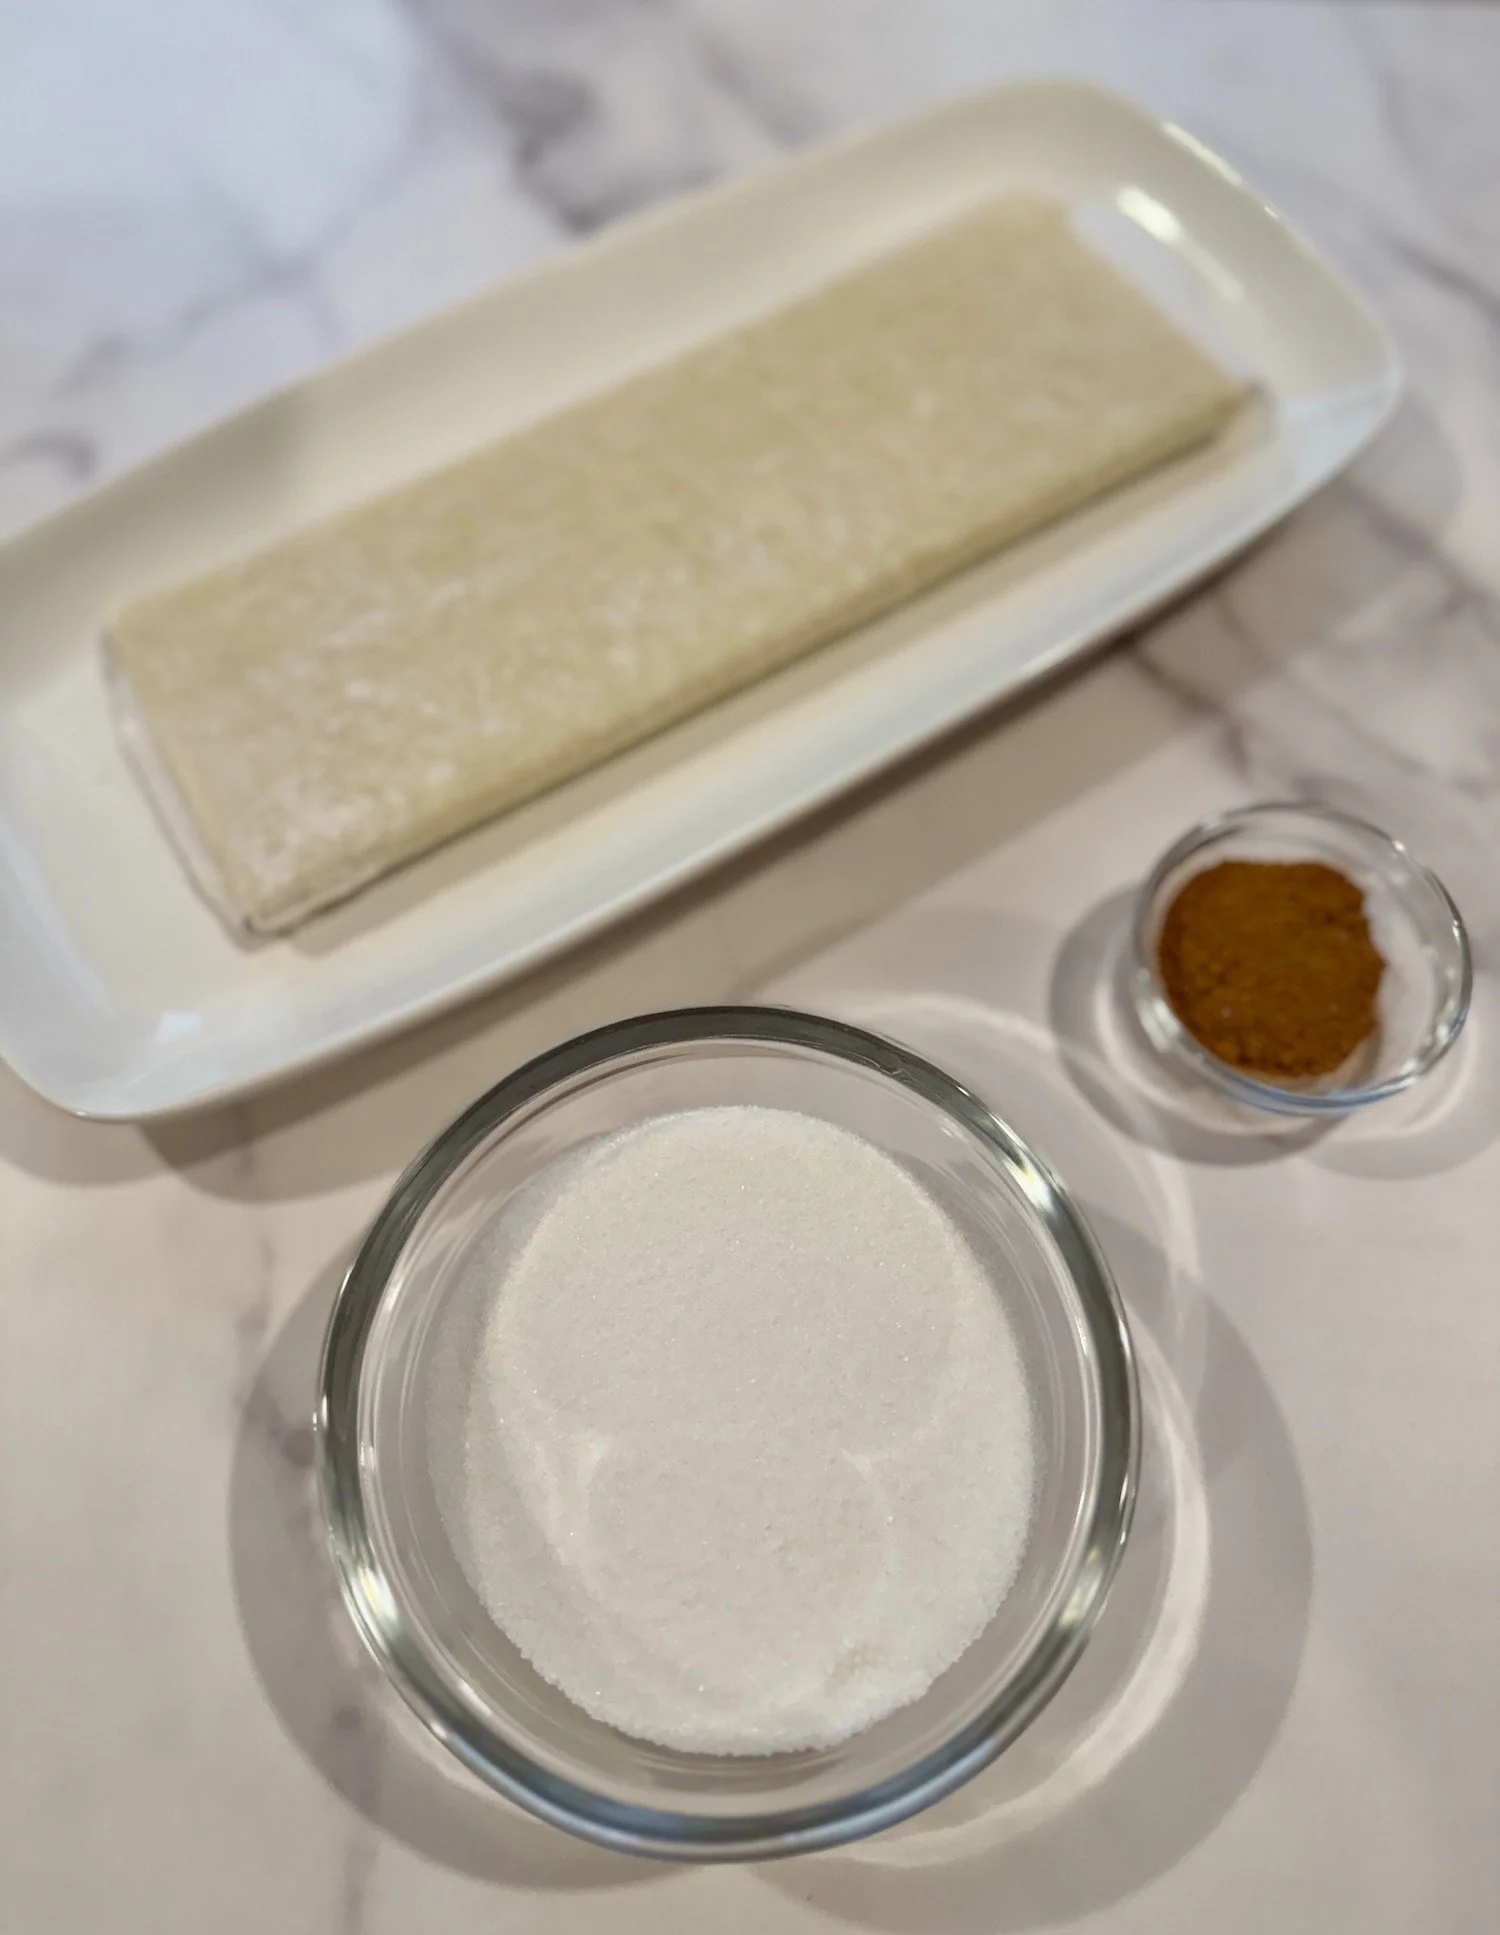
What you’ll need for Palmiers:
Puff pastry, granulated sugar (pinch of salt added), cinnamon
1 sheet all butter puff pastry, thawed but still cold
1/2 cup granulated sugar
Pinch of sea salt
1 tsp ground cinnamon
INSTRUCTIONS
Measure and lay out all your ingredients.
Prepare the sugar mixture. In a small bowl, combine granulated sugar, cinnamon and pinch of salt.
Scatter 1/4 cup of the sugar mixture directly onto the counter. Unfold the cold puff pastry sheet onto the sugared surface. Sprinkle another 1/4 cup of the sugar mix evenly on top.
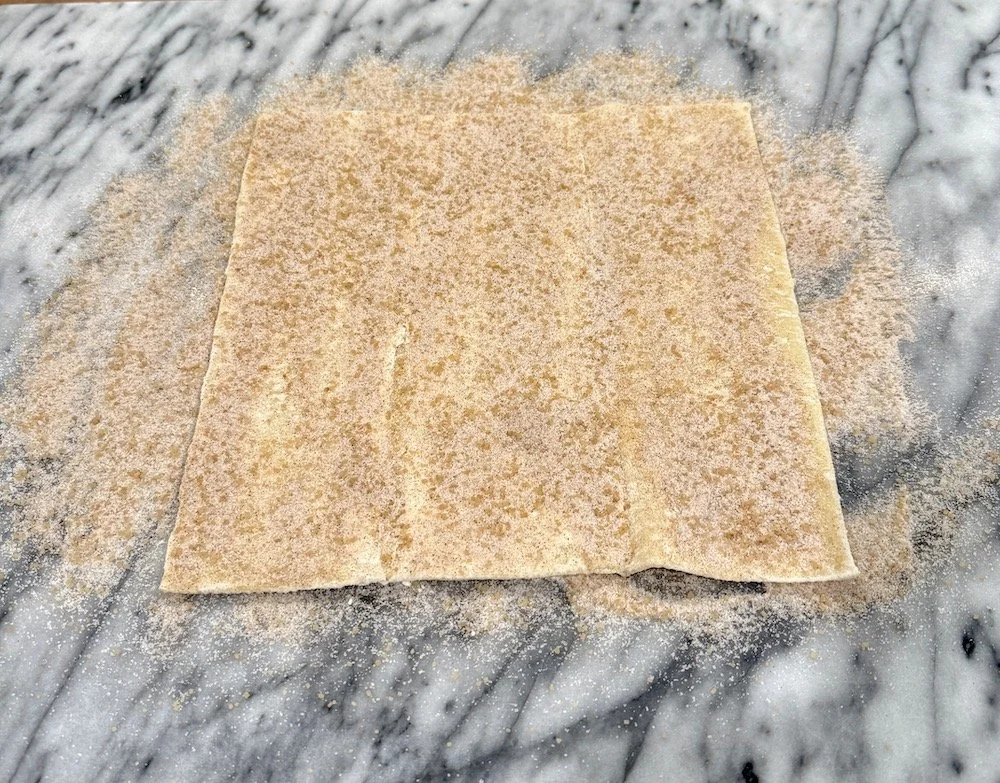
Unfolded puff pastry sprinkled with cinnamon sugar
Using a rolling pin, gently roll the dough into a 10x12-inch rectangle, pressing the sugar into the pastry as you roll.
Rolled puff pastry
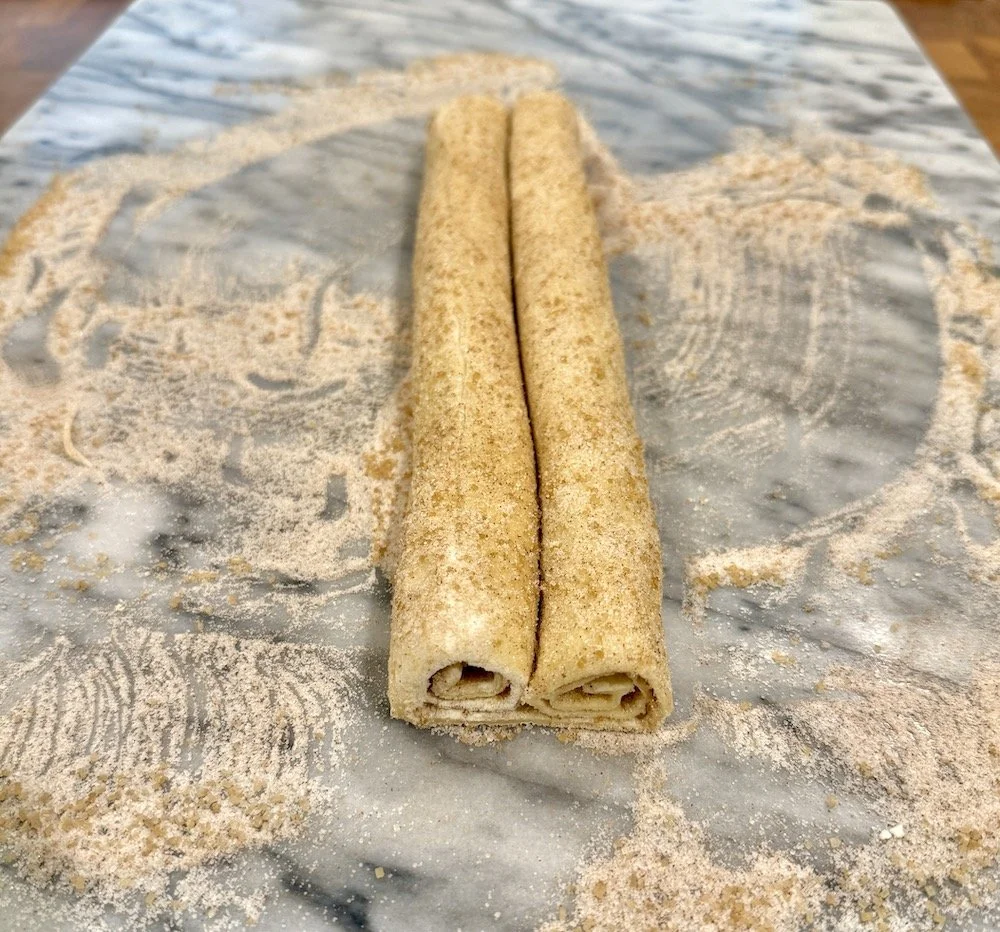
Fold into the heart shape. With the long side of the rectangle facing you, roll in the sides of the dough until they meet in the center.
Wrap the rolled log in plastic and refrigerate for 30 minutes or freeze for 10 minutes. This ensures they slice cleanly and bake with sharp definition.
Preheat the oven to 400°F. Line a baking tray with parchment paper or a silicone mat.
Slice 1/2-inch pieces for large palmiers or 3/8-inch pieces for minis. Dip each cut side lightly in the remaining sugar and press gently. Place the palmiers on the baking tray, leaving space (they spread!)

Unbaked cinnamon-sugar palmiers
Note the signature double scroll shape.
Bake 10-12 minutes, then flip each one with a thin spatula, bake 3-5 minutes more until golden, caramelized, and crisp at the edges.
Move immediately to a cooling rack and cool completely. They crisp as they cool.
STORAGE:
Store for 2-3 days in an airtight container. Freeze unbaked slices and bake from frozen (add 2-3 minutes).
PRO TIPS:
Keep that pastry cold. Puff pastry behaves like a dream when it’s chilly. If it starts feeling soft or sticky as you roll or slice, slip it into the fridge for 5–10 minutes. This helps preserve those flaky layers you’re going for.
Use a light-colored baking sheet. It’s not just aesthetic—light metal prevents the sugar from over-caramelizing on the bottom, giving you that crisp golden shell instead of unwanted bitterness.
Don’t skimp on the sugar. It may feel like a lot, but the generous coating is what gives palmiers their signature glassy, caramelized finish. Most of it stays on the outside, forming that irresistible crunch.
Chill before baking. Once shaped, freeze the palmiers for 10–15 minutes. This helps them hold their shape in the oven and rise into those perfect heart-shaped curls.
Watch for deep golden edges—not pale. Palmiers need to bake until the sugar has fully melted and caramelized. Pale pastries mean underbaked centers and bland flavor. Aim for a rich golden brown with slightly darker edges.
Don’t skimp on the sugar. It may feel like a lot, but the generous coating is what gives palmiers their signature glassy, caramelized finish. Most of it stays on the outside, forming that irresistible crunch.
Don’t skimp on the sugar. It may feel like a lot, but the generous coating is what gives palmiers their signature glassy, caramelized finish. Most of it stays on the outside, forming that irresistible crunch.
Don’t skimp on the sugar. It may feel like a lot, but the generous coating is what gives palmiers their signature glassy, caramelized finish. Most of it stays on the outside, forming that irresistible crunch.
Don’t skimp on the sugar. It may feel like a lot, but the generous coating is what gives palmiers their signature glassy, caramelized finish. Most of it stays on the outside, forming that irresistible crunch.
Use a light-colored baking sheet. It’s not just aesthetic—light metal prevents the sugar from over-caramelizing on the bottom, giving you that crisp golden shell instead of unwanted bitterness.
Don’t skimp on the sugar. It may feel like a lot, but the generous coating is what gives palmiers their signature glassy, caramelized finish. Most of it stays on the outside, forming that irresistible crunch.
Chill before baking. Once shaped, freeze the palmiers for 10–15 minutes. This helps them hold their shape in the oven and rise into those perfect heart-shaped curls.
Watch for deep golden edges—not pale. Palmiers need to bake until the sugar has fully melted and caramelized. Pale pastries mean underbaked centers and bland flavor. Aim for a rich golden brown with slightly darker edges.
Use a light-colored baking sheet. It’s not just aesthetic—light metal prevents the sugar from over-caramelizing on the bottom, giving you that crisp golden shell instead of unwanted bitterness.
Don’t skimp on the sugar. It may feel like a lot, but the generous coating is what gives palmiers their signature glassy, caramelized finish. Most of it stays on the outside, forming that irresistible crunch.
Chill before baking. Once shaped, freeze the palmiers for 10–15 minutes. This helps them hold their shape in the oven and rise into those perfect heart-shaped curls.
Watch for deep golden edges—not pale. Palmiers need to bake until the sugar has fully melted and caramelized. Pale pastries mean underbaked centers and bland flavor. Aim for a rich golden brown with slightly darker edges.Keep that pastry cold. Puff pastry behaves like a dream when it’s chilly. If it starts feeling soft or sticky as you roll or slice, slip it into the fridge for 5–10 minutes. This helps preserve those flaky layers you’re going for.
Use a light-colored baking sheet. It’s not just aesthetic—light metal prevents the sugar from over-caramelizing on the bottom, giving you that crisp golden shell instead of unwanted bitterness.
Don’t skimp on the sugar. It may feel like a lot, but the generous coating is what gives palmiers their signature glassy, caramelized finish. Most of it stays on the outside, forming that irresistible crunch.
Chill before baking. Once shaped, freeze the palmiers for 10–15 minutes. This helps them hold their shape in the oven and rise into those perfect heart-shaped curls.
Watch for deep golden edges—not pale. Palmiers need to bake until the sugar has fully melted and caramelized. Pale pastries mean underbaked centers and bland flavor. Aim for a rich golden brown with slightly darker edges.
Choose the right apples. Firm, tart, and structured apples hold up best. Great choices include Honeycrisp, Pink Lady, Granny Smith, Braeburn, Jonagold.
Don’t stir the caramel. Swirl the pan gently instead. Stirring encourages crystallization.
Use an oven-safe skillet with some weight. Cast iron is excellent; it develops a deeper caramel and keeps heat consistent.
Caramel should be deeply golden, not light. The flavor should be one shade shy of “almost burned.” That’s where the complexity comes from.
Pack the apples tightly. They shrink while cooking, so a snug arrangement makes the flip much more beautiful.
Make sure the puff pastry is cold before topping. A cooler pastry = better puff and flakiness.
Rest 5 minutes before flipping, not longer. Flip too early → the caramel is too thin. Flip too late → the caramel sets and sticks.
This tart is meant to be rustic. Every single one looks a little different. That’s the charm and tradition of a tarte tatin.
The caramel might seem too dark but trust it. That deeper amber is what separates “sweet apples under pastry” from a true French tarte tatin.
It’s naturally elegant without extra garnish. But if you want to elevate it further:
dust with a touch of powdered sugar,
serve with crème fraîche, whipped cream or ice cream
or drizzle a bit of warm caramel around the plate.
✨ Let’s Bake Together
Loved this recipe?
Join The Gourmet Table, my weekly newsletter filled with French pastry tips, seasonal recipes, and elegant inspiration for your next celebration. Whether you’re baking for two or styling a dessert table for twenty, I’ll help you make it unforgettable.
📬 Sign up for the newsletter here →
📸 Follow along on Instagram @gourmetlayers for behind-the-bake moments, styling tips, and cookie cam magic.
💬 Tried this recipe? Leave a comment or tag me — I love seeing what you create.